

How to Bleed Your Brakes Like a Pro

Understanding and mastering brake bleeding techniques is essential for all drivers who wish to maintain their vehicle’s braking system in optimal condition. Properly functioning brakes are crucial for safety on the road, as they ensure that a vehicle can stop effectively and respond predictably in emergency situations. Over time, air can infiltrate the brake lines, leading to a spongy brake pedal and reduced braking power. This issue must be addressed promptly and efficiently.
In this article, we will explore the various methods of brake bleeding, highlighting their benefits and limitations. Each technique suits different levels of mechanical skill and equipment availability, allowing drivers to choose the approach that best fits their needs. From traditional manual bleeding to modern vacuum bleeding systems, mastering these techniques can empower drivers to take control of their vehicle maintenance.
Additionally, we will provide step-by-step instructions and safety precautions to ensure that each driver can confidently perform brake bleeding at home or understand the process to communicate effectively with a professional mechanic. By equipping yourself with this knowledge, you not only enhance your driving safety but also extend the lifespan of your brake components.
Understanding the Importance of Brake Fluid Maintenance
Brake fluid plays a crucial role in the functioning of a vehicle’s braking system. It is a hydraulic fluid that transfers force from the brake pedal to the brake components, ensuring timely and effective stopping power. Maintaining the quality and level of brake fluid is essential for safety and performance.
One primary reason for regular brake fluid maintenance is to prevent moisture absorption. Brake fluid is hygroscopic, meaning it can absorb water from the air over time. This moisture can lead to corrosion within the braking system and significantly reduce the fluid’s boiling point. As a result, the brakes may fail under heavy use, especially in high-temperature conditions.
Additionally, contaminated brake fluid can impair the braking system’s performance. Over time, debris and particulates can accumulate, leading to decreased responsiveness and increased wear on brake components. Regularly flushing and replacing the brake fluid helps ensure optimal performance and longevity of the braking system.
The condition of brake fluid can also serve as an indicator of potential problems within the braking system. Monitoring its color and consistency can help drivers identify when maintenance is required. Clear or light-colored fluid typically indicates good condition, while dark or cloudy fluid suggests contamination or degradation.
Furthermore, maintaining brake fluid is not only about the fluid itself but the entire braking system. Regular inspections and servicing of brake lines, calipers, and master cylinder contribute to a comprehensive maintenance strategy that enhances overall vehicle safety.
In summary, understanding the importance of brake fluid maintenance is vital for drivers. It ensures a responsive braking system, prevents costly repairs, and enhances overall road safety. Regular checks and timely fluid replacement are essential practices for any conscientious vehicle owner.
Step-by-Step Guide to DIY Brake Bleeding
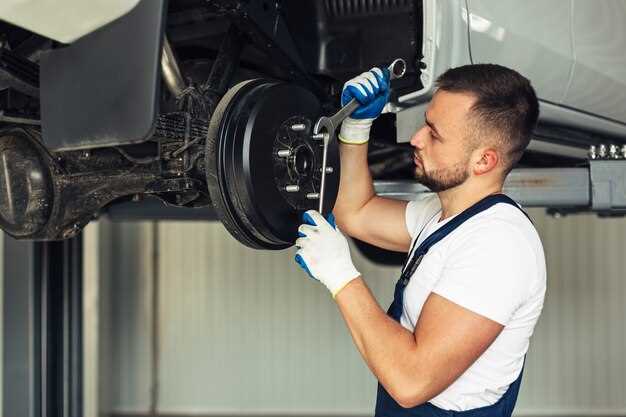
Bleeding your brakes is essential for maintaining optimal braking performance. Follow these steps to effectively bleed your brake system at home.
Materials Needed:
- Brake fluid (consult your vehicle manual for the correct type)
- Wrench or socket set
- Brake bleeder kit (optional, but helpful)
- Clear plastic tubing
- Catch container
- Assistant (optional, but recommended)
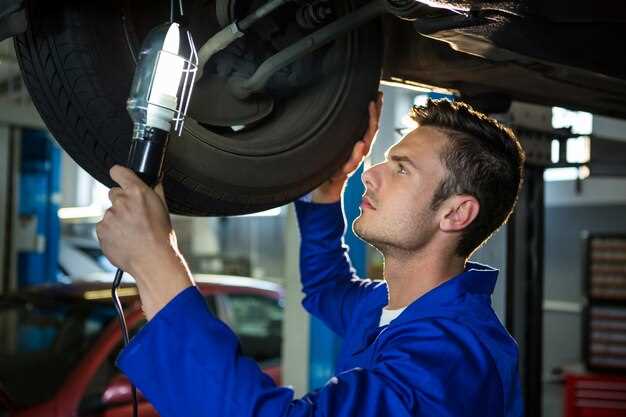
Step 1: Preparation
Ensure your vehicle is parked on a level surface. Engage the parking brake and wear safety goggles. Open the hood and locate the brake fluid reservoir. Check the fluid level and add new brake fluid if necessary.
Step 2: Identify the Brake Bleeding Sequence
Consult your vehicle manual for the recommended bleeding sequence. Typically, you should start with the wheel farthest from the master cylinder and work your way closer. For most vehicles, the order is: right rear, left rear, right front, and left front.
Step 3: Attach the Tubing
Locate the bleeder valve on each brake caliper. Securely attach one end of the clear plastic tubing to the bleeder valve, ensuring the other end is placed in the catch container.
Step 4: Bleed the Brakes
Have your assistant pump the brake pedal several times until it feels firm. Instruct them to hold the pedal down while you open the bleeder valve with your wrench. Fluid and air will escape through the tubing. Close the valve before they release the pedal to prevent air from entering the system. Repeat this process until a steady stream of brake fluid without bubbles flows out, indicating that the air has been purged.
Step 5: Check Fluid Level
After bleeding each brake, continually monitor the brake fluid reservoir to prevent it from running dry. Refill as necessary to maintain fluid level throughout the process.
Step 6: Repeat the Process
Move on to the next brake in your established sequence, repeating the bleeding process until all brakes have been bled.
Step 7: Final Checks
Once all brakes are bled, double-check the fluid level in the reservoir one last time and top off if needed. Reattach any caps or covers you removed and ensure the bleeder valves are securely tightened.
Step 8: Test Drive
Take your vehicle for a short test drive to ensure the brakes are functioning properly. Pay attention to any unusual noises or pedal feel. If problems persist, consult a professional mechanic.
By following these steps, you can successfully bleed your brakes and enhance your vehicle’s safety and performance.
Common Mistakes to Avoid When Bleeding Brakes
Bleeding brakes is an essential maintenance task for ensuring your vehicle’s braking system functions properly. However, several common mistakes can lead to inefficient results or even dangerous situations. Here are some critical errors to avoid.
1. Neglecting the Owner’s Manual
Every vehicle has a specific procedure for bleeding brakes detailed in the owner’s manual. Skipping this step can result in missed instructions specific to your vehicle model, which may affect performance.
2. Using the Wrong Tools
Using improper tools can complicate the bleeding process. Ensure you have the correct size wrenches, hoses, and containers designed to prevent air and fluid contamination.
3. Forgetting to Check Brake Fluid Levels
Running the master cylinder dry while bleeding brakes can introduce more air into the system. Always ensure the fluid level is adequate and top it off as necessary throughout the process.
4. Bleeding in the Wrong Sequence
Different vehicles may require a specific order for bleeding the brakes–usually starting from the furthest wheel from the master cylinder. Failing to bleed in the correct sequence can lead to air pockets remaining in the system.
5. Inconsistent Pedal Pressure
When using the pump-and-hold method, it is crucial to maintain steady pressure on the brake pedal. Inconsistent pressure can lead to incomplete removal of air from the lines.
6. Ignoring Visual or Sound Cues
Poor observation of brake fluid color and consistency or neglecting to listen for air bubbles indicates that the system is not fully bled. Pay attention to these cues to achieve better results.
7. Failing to Test the Brakes
After bleeding the brakes, it is vital to test them before driving. Insufficient pressure or responsiveness can signal that air is still in the system, requiring follow-up bleeding.
8. Not Using Fresh Brake Fluid
Using old or contaminated brake fluid can compromise performance. Always use fresh fluid that meets your vehicle specifications to ensure optimal braking efficiency.
Avoiding these common mistakes when bleeding your brakes will not only enhance your vehicle’s safety but also extend the lifespan of the braking system. Take your time, follow the correct procedures, and ensure thoroughness for the best outcomes.